Canning Season: Preserving Your Harvest for Year-Round Enjoyment
-
 Jackie Maple
- 10 Min To Read
- 3/30/2024
As the lush greenery of summer begins to fade into the rich hues of autumn, the bountiful harvest season arrives, bringing with it the age-old tradition of canning. This practice, deeply rooted in the desire to capture and preserve the fleeting flavors of the season, offers a delightful way to enjoy the fruits (and vegetables) of your labor all year round. The art of canning, passed down through generations, is more than just a method of food preservation; it's a way to bond with family, to share with friends, and to connect with the cycles of nature.
Whether you're a seasoned canner who has mastered the art or a curious novice eager to dip your toes into the world of home preservation, this guide is tailored for you. We will walk you through the essentials of canning, from selecting the right equipment to understanding the science behind safe food preservation. Our aim is to ensure your pantry shelves are adorned with jars of delicious, homemade preserves, each a testament to your dedication and love for wholesome, home-prepared food.
In the following sections, we'll explore the different methods of canning, the importance of using the right techniques, and how to ensure your canned goods are safe and flavorful. We'll share tips on choosing the best produce, preparing your kitchen, and finding the perfect recipes to capture the essence of each season. Whether you're interested in making jam, pickles, or any other preserved delicacy, this guide will provide you with the knowledge and confidence to embark on your canning journey.
Embrace the rewarding experience of transforming your garden's yield or farmers market finds into a pantry filled with vibrant, nourishing treasures. Let's embark on this canning adventure together, preserving not just food, but memories and the joy of sharing. Welcome to the wonderful world of canning, where the bounty of your harvest can be savored long after the seasons change.
Understanding the Basics of Canning
Canning is a method of preserving food in which the contents are processed and sealed in an airtight container. This process extends the shelf life of food by removing oxygen, destroying enzymes, and preventing the growth of undesirable bacteria, yeasts, and molds. There are two main methods of canning: water bath canning and pressure canning. Choosing the right method depends on the type of food you're preserving, as each method is suitable for different kinds of produce.Water Bath Canning
Water bath canning is ideal for high-acid foods like fruits, jams, jellies, salsas, and pickles. This method involves placing filled jars into a large pot of boiling water, which heats the contents to a temperature that kills off harmful bacteria and seals the jars tightly.Pressure Canning
When it comes to preserving the bounty of your garden or local market, pressure canning stands out as an indispensable method, especially for low-acid foods. Unlike fruits which are often high in acid, vegetables, meats, and poultry require a bit more care to ensure they're safely stored for future enjoyment. This is where the magic of pressure canning comes into play.
A pressure canner, not to be confused with a water bath canner, is a specialized piece of equipment designed to achieve and maintain temperatures beyond the boiling point of water. This is crucial because many harmful bacteria, including the notorious Clostridium botulinum which can cause botulism, thrive in low-acid environments and are not eliminated at 212°F (100°C), the boiling point of water. However, when you use a pressure canner, you're able to reach temperatures up to 240°F (116°C), effectively killing these bacteria and ensuring your canned goods are safe for consumption.
The process involves placing your jars filled with the prepared food and properly sealed with lids inside the pressure canner. Water is added to the canner, and as it heats, steam builds up, creating pressure. This pressure increases the boiling point of the water inside the canner, allowing the temperature to rise above the normal boiling point. It's this elevated temperature that ensures your low-acid foods are processed safely, making them shelf-stable and ready to enjoy months or even years later.
It's important to follow the manufacturer's instructions for your specific pressure canner model, as well as tested recipes and guidelines from reputable sources such as the National Center for Home Food Preservation. This ensures not only the safety of the food you're preserving but also the quality and taste. Properly pressure-canned goods retain much of their nutritional value, flavor, and texture, making them a delightful addition to your pantry.
Whether you're an experienced canner or new to the world of home preservation, pressure canning is a skill worth mastering. It opens up a world of possibilities for preserving a wide range of foods, from your garden's surplus vegetables to that big batch of chicken stock you've made. With a bit of practice and attention to detail, you'll be enjoying your harvest well into the future, relishing the flavors of each season, no matter the time of year.
Selecting the Right Produce for Canning
The key to successful canning starts with your produce. Opt for fresh, ripe fruits and vegetables that are free of bruises and blemishes. The quality of your canned goods directly reflects the quality of the ingredients you use, so it's essential to choose the best produce available. When selecting fruits and vegetables for canning, it's crucial to pick those at the peak of their ripeness. This not only ensures the best flavor and texture in your canned goods but also maximizes the nutritional content preserved during the canning process.
However, the definition of 'ripe' can vary significantly between different types of produce. For instance, tomatoes are best canned when they are firm and fully colored, while peaches should be slightly soft to the touch and free of green areas. Understanding the specific ripeness indicators for each type of produce can greatly enhance the quality of your canned goods.
Moreover, consider the source of your produce. Whenever possible, source your fruits and vegetables from local farmers' markets or your own garden. Locally sourced produce is likely to be fresher and of higher quality since it hasn't been subjected to the stress of long-distance transportation. Additionally, canning locally sourced produce supports sustainable agriculture and reduces your carbon footprint, making it a win-win for both the environment and your pantry.
Lastly, don't overlook the importance of inspecting each piece of produce for signs of spoilage such as bruises, blemishes, or soft spots. These imperfections can affect the flavor, texture, and safety of your canned goods. It's better to use slightly less produce of higher quality than to compromise the batch with subpar ingredients.
In summary, the foundation of successful canning lies in the careful selection of produce. By choosing fruits and vegetables that are ripe, free of defects, and sourced from local growers when possible, you can ensure that your canned goods are delicious, nutritious, and environmentally friendly. Happy canning!
Preparing Your Kitchen for Canning
Before you begin canning, it's important to prepare your kitchen. Gather all necessary equipment, including jars, lids, rings, a canning pot (or pressure canner), a jar lifter, and a funnel. Sterilize your jars and lids to ensure a clean, safe environment for your preserves.The Canning Process
Once your kitchen transforms into a canning haven, equipped with all the necessary tools and gear, you're poised to embark on the gratifying journey of canning. The first step in this culinary adventure involves thoroughly washing and preparing your bounty. This crucial stage varies significantly depending on the type of produce you've chosen to preserve. For some, peeling back layers or skins might be necessary, while others may require a good chopping or a gentle crushing to release their full flavors. The goal is to prepare your fruits or vegetables in a way that maximizes their taste and longevity.
With your produce ready, it's time to pack it into your jars. This step is more than just filling space; it's about ensuring the longevity and safety of your canned goods. Carefully fill your jars with the prepared items, paying close attention to leave the recommended headspace. This small gap at the top of the jar is critical for creating the vacuum seal that preserves your food. After filling, take a clean cloth and wipe the rims of the jars to remove any residue that could interfere with the sealing process.
Next, the lids and rings come into play. Place the lids on each jar, ensuring they're centered and properly seated. Then, twist on the rings until they're just finger-tight. This detail is key; the rings should be secure but not so tight that air can't escape during the canning process, which is essential for creating a strong seal.
Now, it's time for the heart of the canning process: processing the jars. Depending on the type of produce you're canning, you'll either use a water bath canning method or a pressure canning method. Water bath canning is perfect for high-acid foods like fruits, tomatoes, and pickles, while pressure canning is necessary for low-acid foods like vegetables and meats. This step is where the magic happens, as the heat kills off any bacteria and seals the jars, preserving your harvest.
After the processing time is up, carefully remove the jars from the canner using a jar lifter and place them on a towel or cooling rack, leaving space between each jar for air circulation. This is a moment of anticipation and patience, as the jars need to cool undisturbed for 12 to 24 hours. You might hear the satisfying "pop" of the lids as they seal during this time.
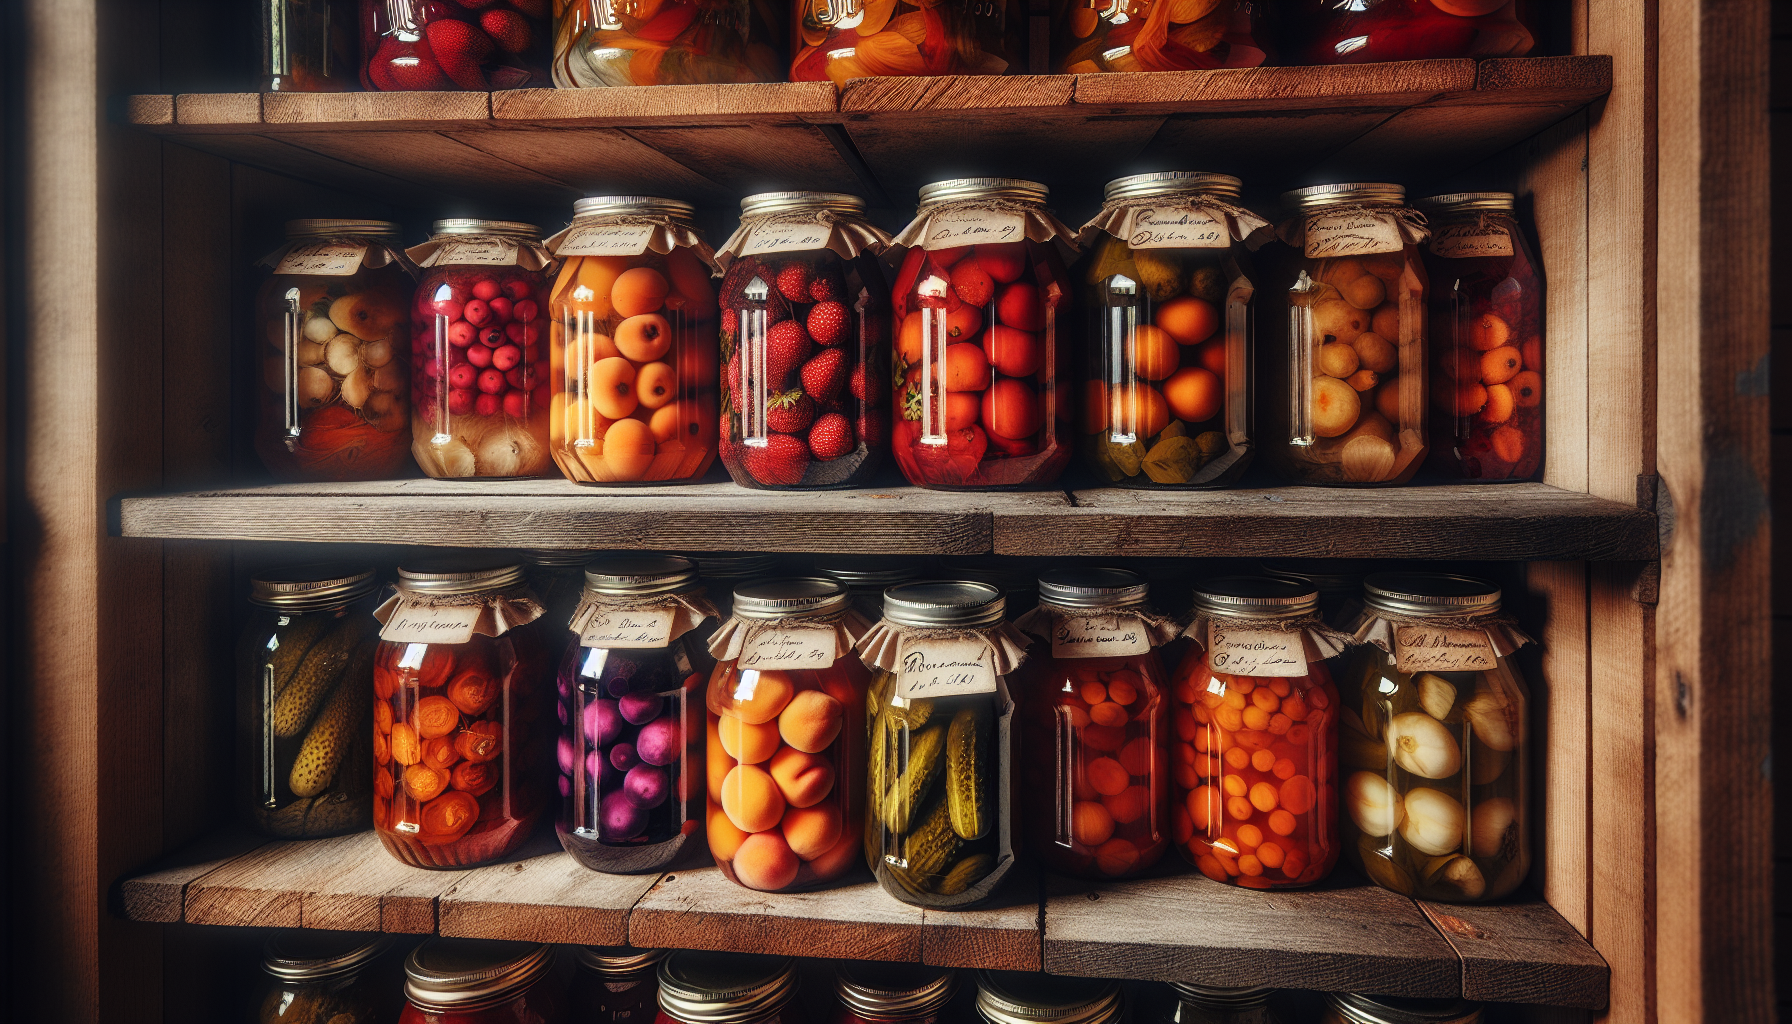
Once cooled, it's essential to check the seals on each jar. A properly sealed jar will have a concave lid that doesn't move when pressed. Any jars that haven't sealed correctly should be refrigerated and used first. Finally, label your jars with the contents and the date. This simple step is crucial for keeping your pantry organized and enjoying your preserved harvest at its best.
Store your jars in a cool, dark place, away from direct sunlight. This final step ensures that your hard work can be enjoyed for months, or even years, to come. Canning is more than just a method of food preservation; it's a way to capture the bounty and essence of the seasons, allowing you to enjoy the fruits of your labor all year round.
Enjoying Your Canned Goods
One of the greatest joys of canning is opening a jar of summer's bounty during the cold winter months. Canned goods make excellent additions to meals, offering a taste of the season long after it has passed. From homemade tomato sauce and pickles to jams and jellies, the possibilities are endless.Conclusion
Canning is a rewarding endeavor that not only provides a way to preserve the flavors of the season but also fosters a deeper connection to the food we eat. With a little preparation and some patience, you can transform your harvest into a pantry filled with homemade delights. So, as the canning season approaches, embrace the tradition and enjoy the fruits of your labor all year round.